

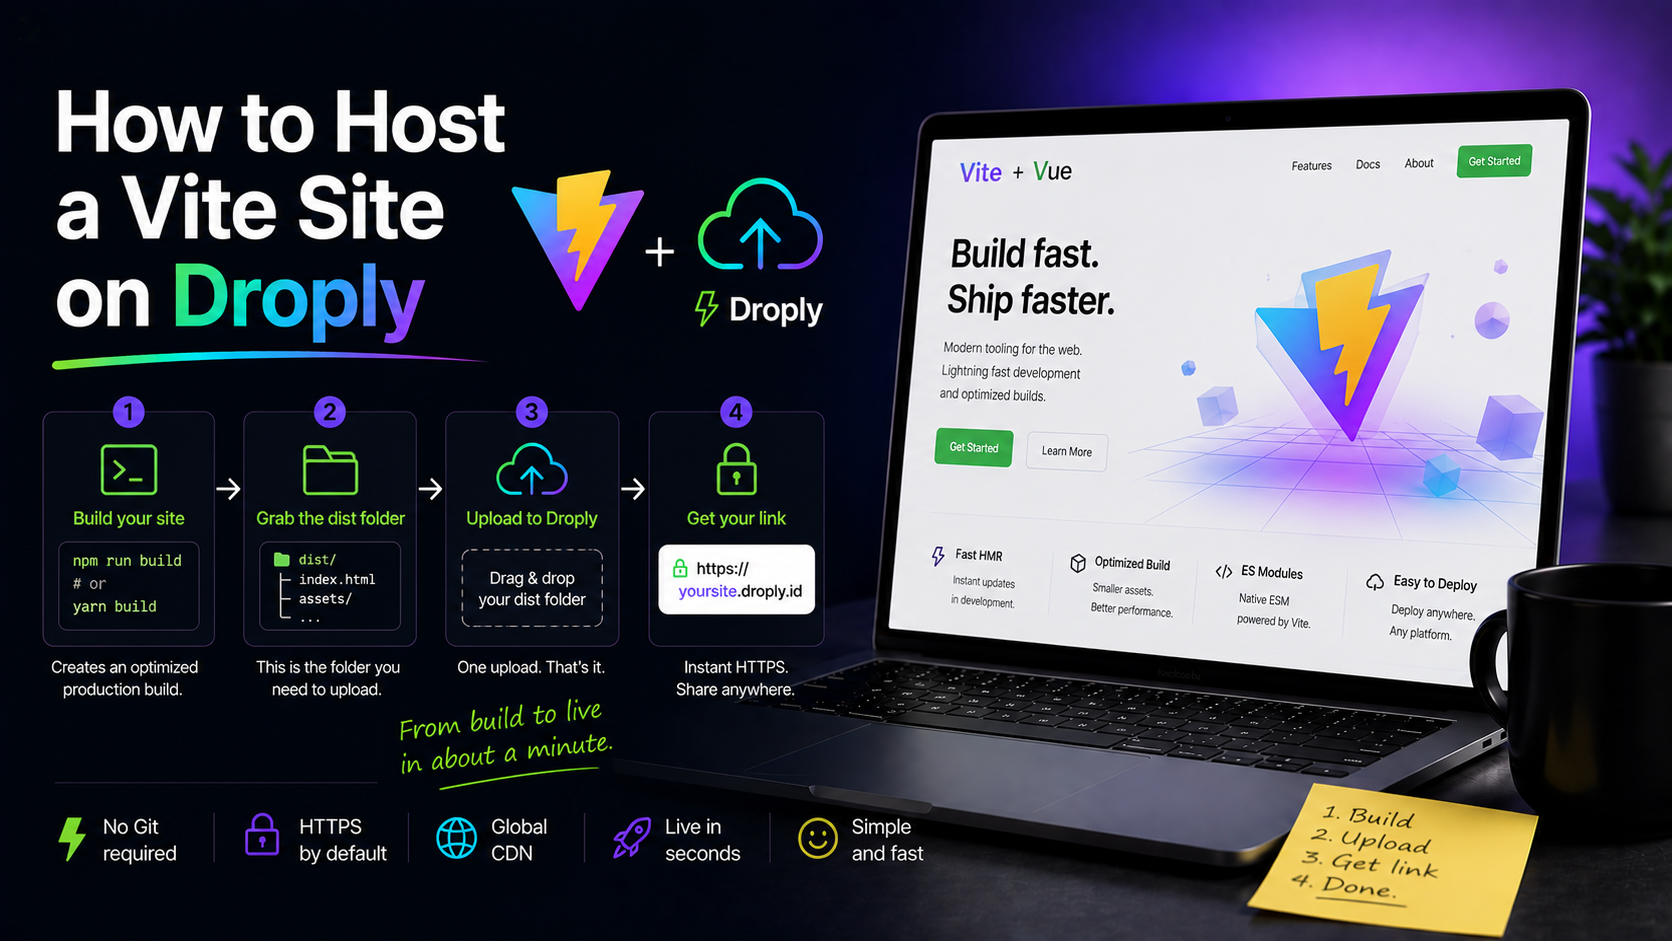
Vite gives you a fast dev server and a clean production build. Droply gives you an instant HTTPS URL for that build. Put them together and you can host a Vite site on Droply in about a minute — no git push, no CI config, no server to think about. This guide walks through the exact commands, the output folder to grab, and how to drag it onto Droply.
What you need before you start
You should have a working Vite project on your machine. If you're starting fresh, spin one up:
npm create vite@latest my-app
cd my-app
npm install
npm run dev
Once npm run dev loads at http://localhost:5173 and your app looks right, you're ready to build for production and deploy.
A quick note on scope: Droply is a static host. It serves your pre-built HTML, CSS, JS, and assets over HTTPS, but it never runs Node, a build step, or server-side code. That's fine for Vite — Vite's build command produces exactly the kind of static output Droply expects.
Step 1: Produce the static build output
From your project root, run:
npm run build
Under the hood this executes vite build, which bundles your app and writes the production output to a folder called dist/. By default, dist/ contains:
index.html— the entry HTMLassets/— hashed JS and CSS bundles- Any static files from your
public/directory, copied to the root ofdist/
That dist/ folder is the entire site. It's self-contained and can be served by any static host, which is exactly what you need to host a Vite site on Droply.
Test the build locally first
Before uploading, verify the build actually works as a static bundle:
npm run preview
This serves dist/ locally at http://localhost:4173. Click through your app. If a route 404s or an asset fails to load here, it will also fail on Droply — fix it now, not after deploy.
Step 2: Set the correct base path
This is the one Vite-specific setting that trips people up. By default, Vite assumes your site is served from the domain root (/). Droply serves your site at https://<name>.droply.id/, which is a root — so the default works.
Open vite.config.js (or vite.config.ts) and make sure base is either omitted or set to '/':
import { defineConfig } from 'vite'

export default defineConfig({
  base: '/',
})
If you previously set base to a subpath like '/my-app/' (common when deploying to GitHub Pages), change it back to '/' before rebuilding for Droply. Otherwise every asset URL in index.html will point to the wrong place and you'll see a blank page.
Rebuild after any config change:
npm run build
Step 3: Handle client-side routing (if you use it)
If your Vite app uses React Router, Vue Router, or any client-side router with browser history mode, a direct visit to /about needs to serve index.html so the router can take over. On many static hosts you'd add a rewrite rule. On Droply, the simplest approach is to make sure your build outputs a fallback that works — for most single-page apps, ensuring index.html is present at the root of dist/ is enough for the initial load and any in-app navigation.
If you rely on deep-link refreshes to specific routes, consider using hash-based routing (/#/about) for the smoothest experience on a pure static host. Otherwise, the app still works for anyone entering through /.
Step 4: Deploy to Droply
Now the fast part. You have two options.
Option A: Drag the dist folder
- Go to droply.host and sign in.
- Drag the entire
dist/folder onto the upload area. - Pick a name — this becomes
<name>.droply.id. - Wait a couple of seconds.
That's it. You now have a live HTTPS URL serving your Vite site.
Option B: Upload a ZIP
If you'd rather upload a single file, zip the contents of dist/ — not the folder itself. You want index.html at the root of the ZIP, not nested inside a dist/ directory.
On macOS or Linux:
cd dist
zip -r ../site.zip .
cd ..
On Windows PowerShell:
Compress-Archive -Path dist\* -DestinationPath site.zip
Then drag site.zip onto Droply. It will be extracted and served the same way.
Step 5: Update your site later
When you make changes:
- Run
npm run buildagain. - Re-upload
dist/(or a fresh ZIP of its contents) to the same site on Droply.
The content is replaced in place and the URL stays the same. Any link you've already shared keeps working. This makes Droply useful for iterating on client previews, demo builds, and portfolio updates without re-sending URLs.
Common issues when you host a Vite site
Blank page, 404s in the console for /assets/...
Your base in vite.config.js is set to a subpath. Change it to '/' and rebuild.
Fonts or images from public/ are missing
Reference them with a leading slash (/logo.svg), not a relative path. Vite copies public/ to the root of dist/, so /logo.svg resolves correctly at the deployed URL.
Environment variables aren't showing up
Vite only exposes variables prefixed with VITE_ to the client. Set them in .env.production before running npm run build — they're baked into the bundle at build time, so re-upload after changing them.
You uploaded the wrong folder
Make sure you're uploading dist/, not the project root. The project root contains node_modules and source files that don't belong on a static host.
Going further
Once your site is live, you can point a custom domain at it and drop the Droply banner on a paid plan — details on pricing. For everything else, the workflow stays the same: npm run build, drag dist/, done.
Vite's job is to produce a clean static bundle. Droply's job is to serve it over HTTPS without any config. Together, they turn "I need to show this to a client today" into a one-minute task.