

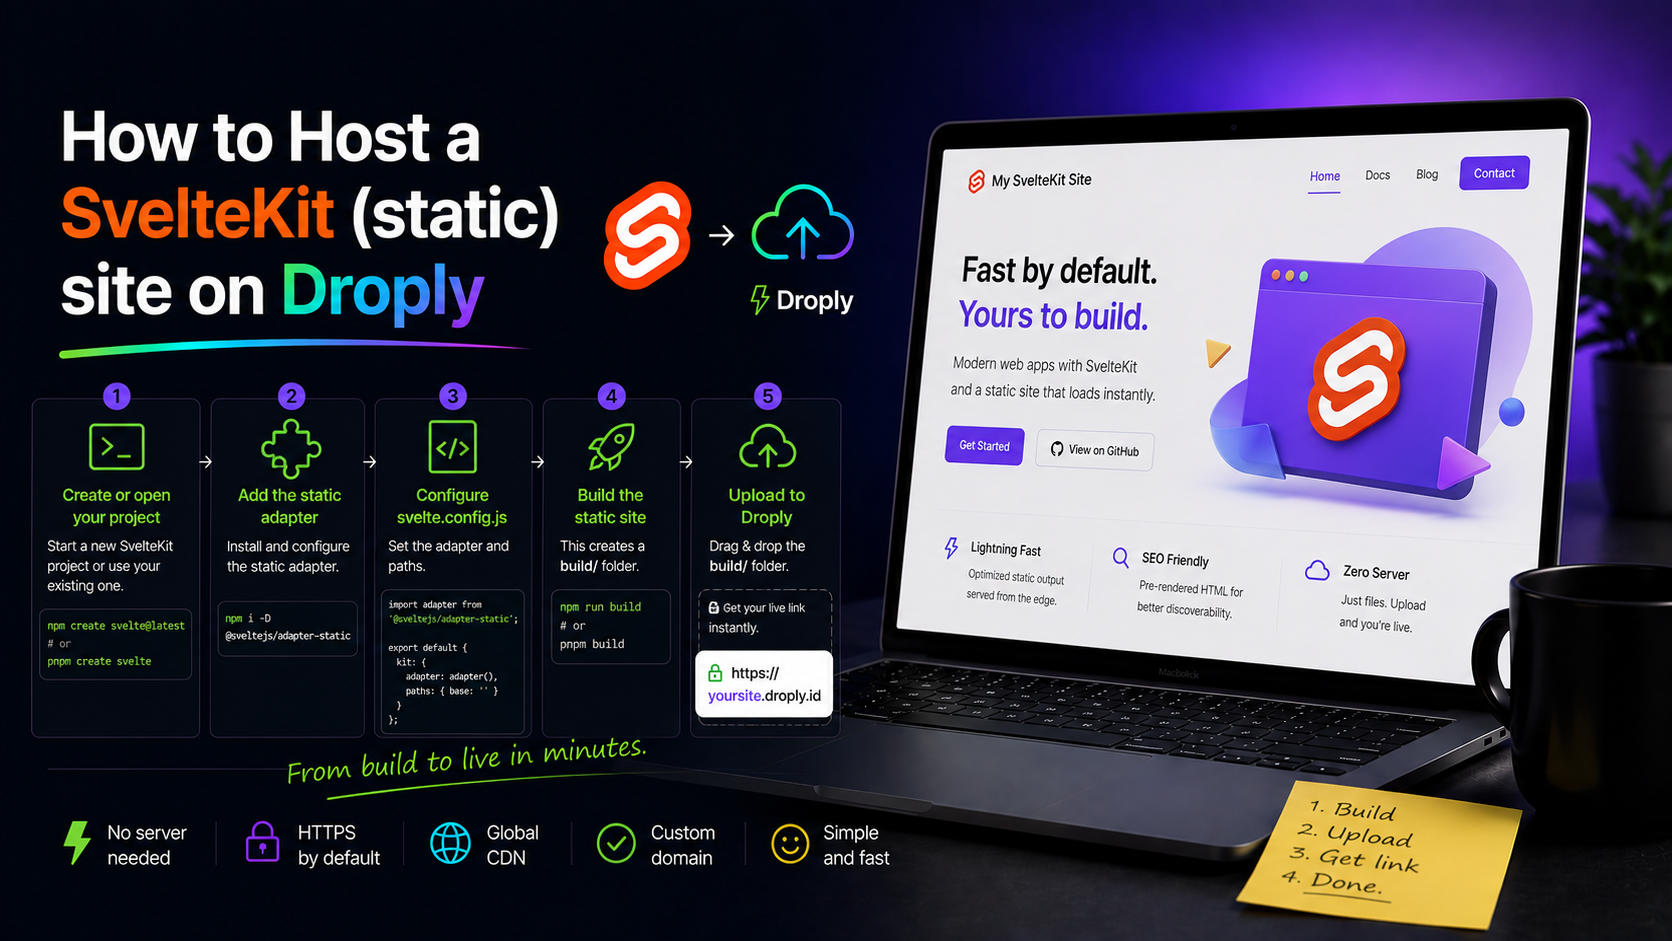
SvelteKit is one of the fastest ways to build a modern web app, and when your project doesn't need a server at runtime, exporting it as a fully static site is often the cleanest path to production. This guide walks through how to host a SvelteKit static site on Droply, from configuring the static adapter to getting a live HTTPS URL you can share with clients, teammates, or the public.
If you already have a build/ folder ready, you can skip to the upload section. Otherwise, start at the top — the whole flow takes about five minutes.
When SvelteKit can be a static site
SvelteKit is flexible: the same codebase can be a server-rendered app, an edge function, or a fully pre-rendered static site. You can host a SvelteKit static site anywhere that serves plain files as long as every route can be pre-rendered at build time. That works for:
- Marketing sites and landing pages
- Documentation and blogs
- Portfolios and case studies
- Client prototypes and design reviews
- Internal dashboards backed by client-side API calls
If your app needs form actions with a server, session-based auth, or dynamic routes that can't be enumerated at build time, you'll need a Node or edge host instead. Droply is static-only — it serves the output your build produces and never runs server-side user code.
Step 1: Install adapter-static
By default, new SvelteKit projects ship with @sveltejs/adapter-auto, which picks an adapter based on your deploy target. For a static build, replace it with adapter-static:
npm install -D @sveltejs/adapter-static
Then update svelte.config.js:
import adapter from '@sveltejs/adapter-static';

export default {
  kit: {
    adapter: adapter({
      pages: 'build',
      assets: 'build',
      fallback: undefined,
      precompress: false,
      strict: true
    })
  }
};
A few notes on those options:
pagesandassetsboth point tobuild, which becomes the folder you upload.fallbackis left undefined for a pure static site. If you're building a single-page app with client-side routing for unknown paths, setfallback: 'index.html'instead.strict: truemakes the build fail if any route can't be pre-rendered, which is what you want. Better a build error now than a broken page in production.
Step 2: Pre-render every route
Add pre-rendering to your root layout so the whole app is exported:
// src/routes/+layout.js
export const prerender = true;
If a specific route can't be pre-rendered — say, one that depends on request headers — either refactor it to run client-side or exclude it. With strict: true, the build will tell you exactly where the problem is.
For dynamic routes like /blog/[slug], export an entries function so SvelteKit knows which pages to generate:
// src/routes/blog/[slug]/+page.js
export const prerender = true;

export function entries() {
  return [
    { slug: 'hello-world' },
    { slug: 'shipping-static-sites' }
  ];
}
Step 3: Build the site
Run the production build:
npm run build
When it finishes, you'll have a build/ directory containing index.html, an _app/ folder with hashed JS and CSS, and any static assets from static/. This is a self-contained static site — nothing else is required to serve it.
Do a quick smoke test locally:
npx serve build
Open the URL, click around, and check that navigation, images, and any client-side fetches work. If something breaks locally, it will break in production too.
Step 4: Host a SvelteKit static site on Droply
Now the fast part. To host a SvelteKit static site on Droply:
- Zip the contents of
build/. Zip the contents, not the folder itself —index.htmlshould sit at the root of the archive. On macOS you cancd build && zip -r ../site.zip .; on Windows, select everything insidebuild, right-click, and compress. - Go to droply.host and drag the zip onto the upload area.
- Pick a name. This becomes your subdomain, so
myappgives youmyapp.droply.id. - Wait a few seconds. Droply unpacks the archive, serves it over HTTPS, and hands you a live URL.
That's the whole deployment. No git remote, no build config, no environment variables to wire up. If you're on a paid plan, you can point a custom domain at the site and remove the default banner — see pricing for the details.
Updating the site
When you change your code, run npm run build again, zip the new build/ contents, and re-upload to the same name. Droply replaces the content in place and the URL stays exactly the same. This is useful for:
- Iterating on a client prototype without emailing new links
- Publishing content updates to a docs site
- Rolling out fixes without changing what's already been shared
Common gotchas
Broken asset paths. If images or CSS 404, you probably zipped the build folder itself instead of its contents. Re-zip so index.html is at the root of the archive.
Environment variables. Only variables prefixed with PUBLIC_ are inlined into a static build. Anything server-side ($env/dynamic/private, $env/static/private) won't exist at runtime because there is no runtime — the site is just files.
Client-side API calls. These work fine, but the API you're calling needs permissive CORS for your Droply subdomain (or your custom domain). Test this before you hand the link to a client.
Trailing slashes. If you notice odd routing behavior, set trailingSlash: 'always' in your layout. Static hosts sometimes handle /about and /about/ differently, and consistency helps.
Beyond SvelteKit
The same pattern — build, zip, drop — works for anything that produces a static output folder. Astro, Next.js with output: 'export', Vite, plain HTML, a Figma-exported prototype, or even a single PDF you need to share behind a clean URL. If you can produce files, Droply can host them.
That's what makes static hosting appealing in the first place: once you've decoupled your build from your host, you're free to pick whichever framework fits the job. SvelteKit happens to be a particularly good fit — small bundles, fast builds, and a pre-rendering story that just works. Pair it with a host that gets out of your way, and shipping a new site really is a five-minute task.